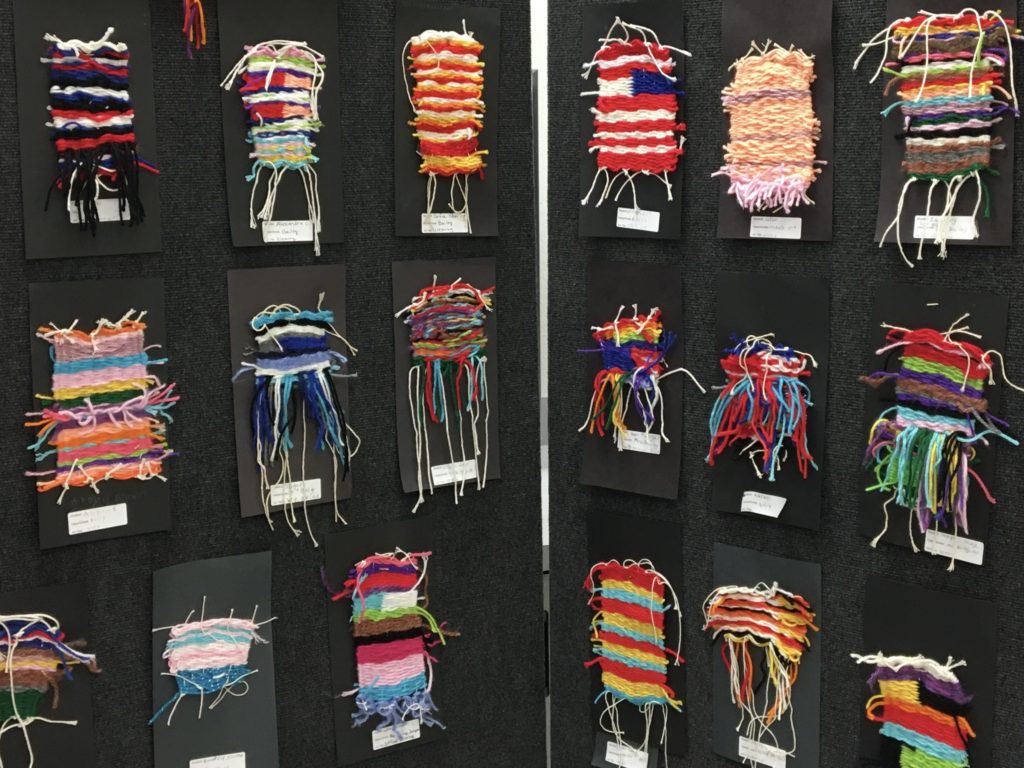
Fall is my favorite season in the art room. While we don’t focus too much on holidays, we embrace the seasons and fall is a time for fibers! Weaving is my go to lesson to teach fibers to kids and we are weaving on cardboard looms!
Getting Ready to Weave!
I like to start my weaving lessons by reading one of my favorite books on the subject: The Goat in the Rug by Charles L. Blood and Martin Link. I love this book because not only does it do a great job of describing the process and history of weaving but the story is told from the perspective of the goat. It is hilarious! If you don’t have a copy you can watch me read it HERE.
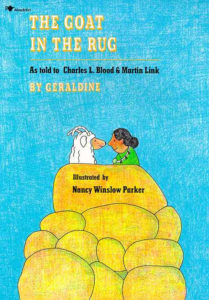
I love this book!!
How to weave on cardboard
Third grade students are weaving on a rectangular cardboard loom. You can buy cardboard looms from art suppliers like Dick Blick or you can make your own like I did. For third graders, I use a 5×7 piece cardboard with slits across the top. My looms have either 7 or 9 slits across the top and bottom. We use colorful yard to weave some amazing designs.
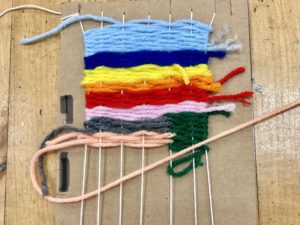
Teaching kids to weave
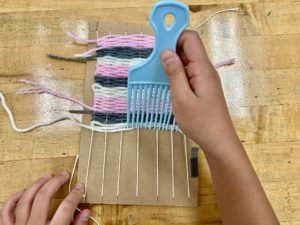
After we get our looms wrapped with the warp string, the students set off weaving. We start with a basic tabby weave the first day or two then move on to more advanced designs.
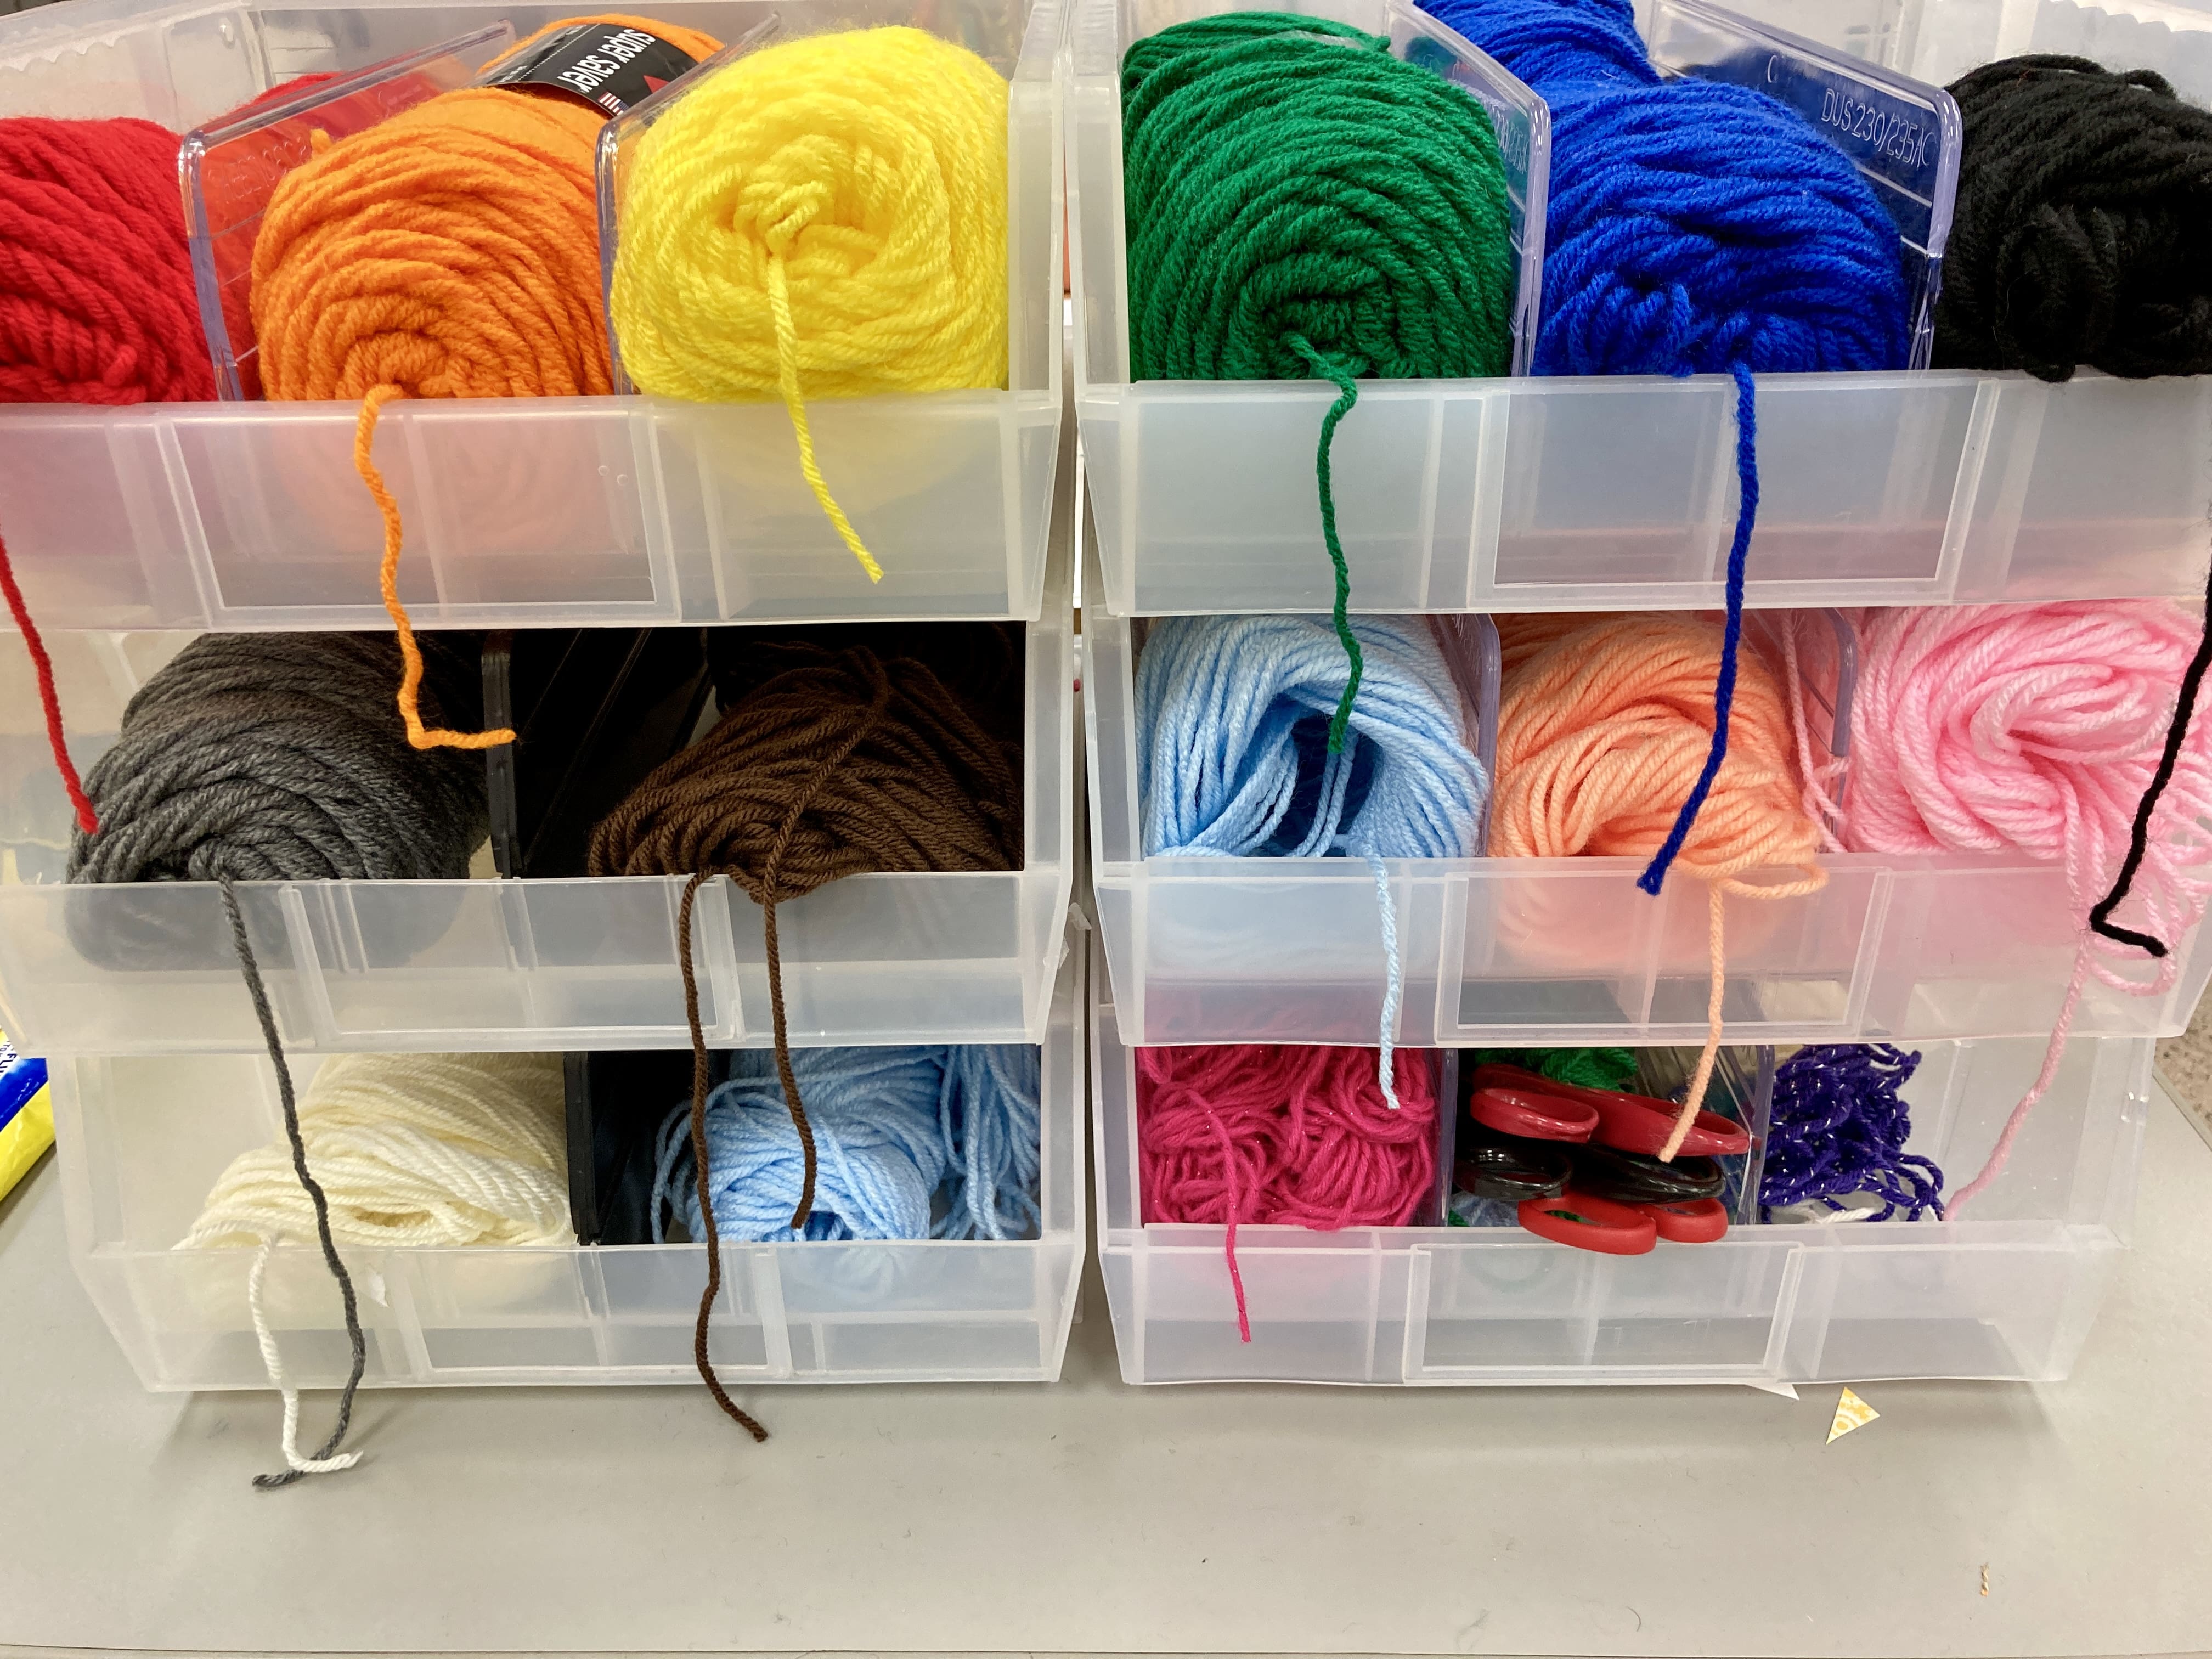
Keeping all those colorful yarns organized can be a little tricky! I have tried many different ways of organizing it and this new system is by far the best. Each skein is placed in its own little compartment and the yarn is dispensed from the middle of the skein. Taking the time to teach this little procedure will save your sanity. Trust me!
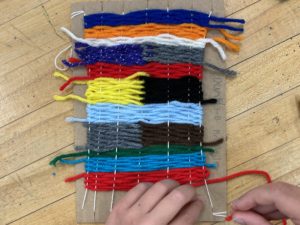
I encourage all my students to attempt a box design and of course they love to learn the rya. Most of my students choose the fringed rya at the bottom of their weaving.
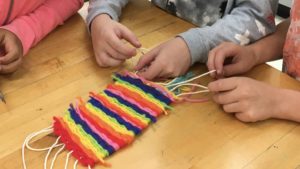
Once all the weft yarns are woven, the kids helped each other tie up all the loose ends and took off the cardboard. They got really good at tying knots!
Here are our finished projects at last year’s art walk.
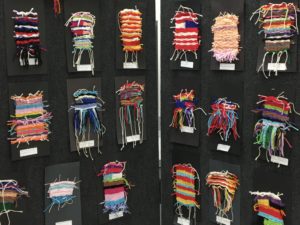
I am so proud of my amazing weavers!

