Polar Bears in Beanies – Winter Art Fun
The days are getting shorter and colder but things are heating up in the art room. This week we are snuggling up and drawing polar bears in cozy winter hats. Second grade artists are showing off their drawing skills and mixing in a little fiber arts as we learn how to draw these adorable polar bears in warm, winter hats.
How to Draw a Polar Bear in a Hat
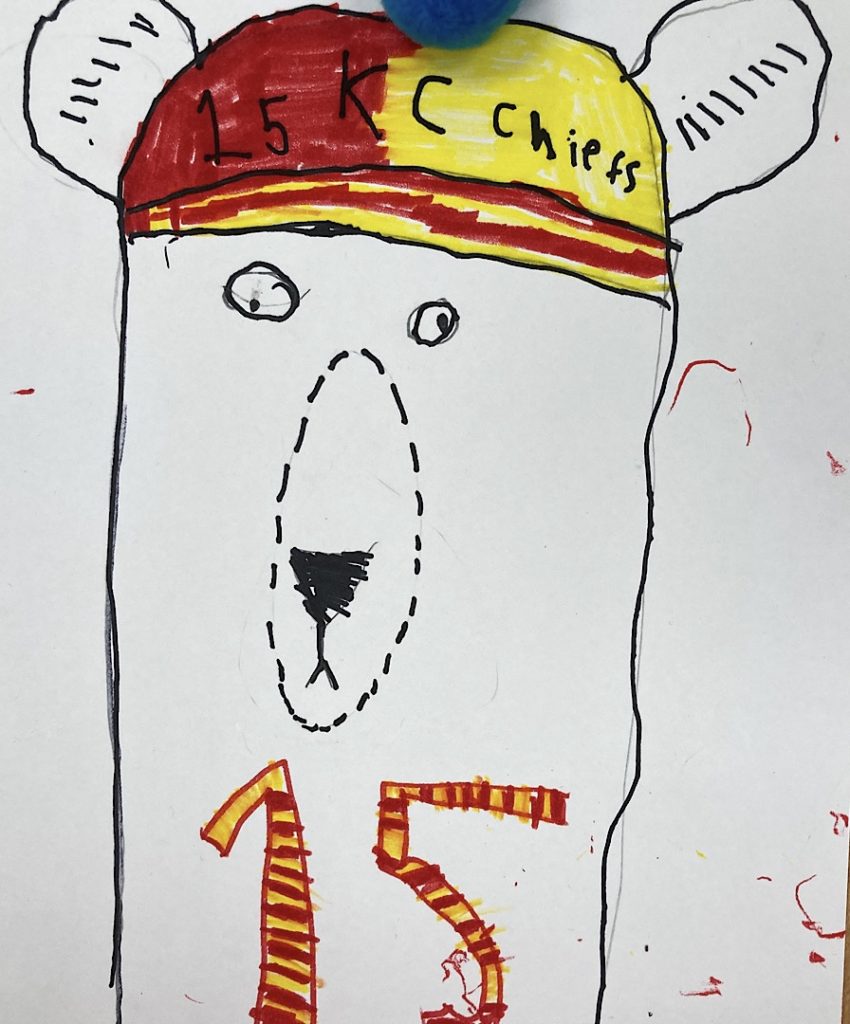
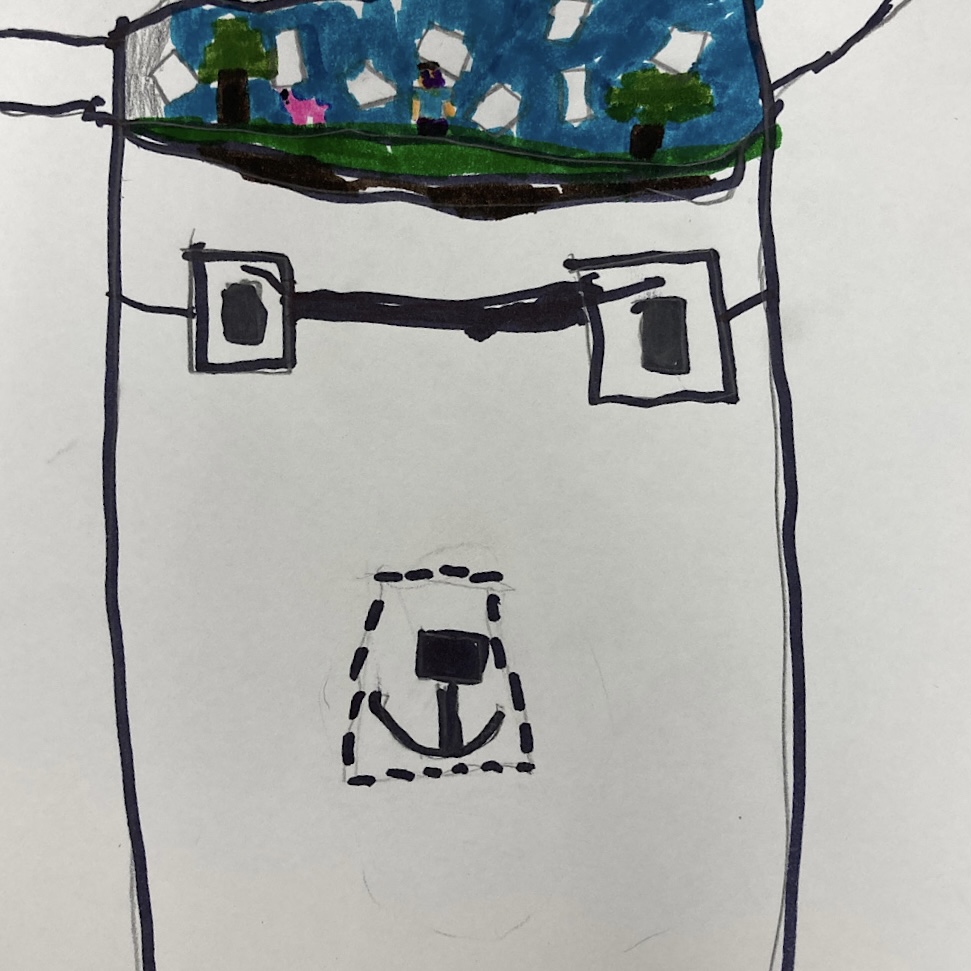
I love this project because after following a few simple directions to draw the bear, my students can go crazy and express themselves as they add their own details. My goal while teaching drawing lessons is to find a balance of providing some guidelines while still allowing for individual creativity. I want each child to take ownership of their art and feel safe to create and make it their own unique piece. This cute little bear is very simple to draw in just a few easy steps. If you want to take the lesson a step further and make 3-D pom-poms to top them off, these bears become mixed media masterpieces!
Materials Needed
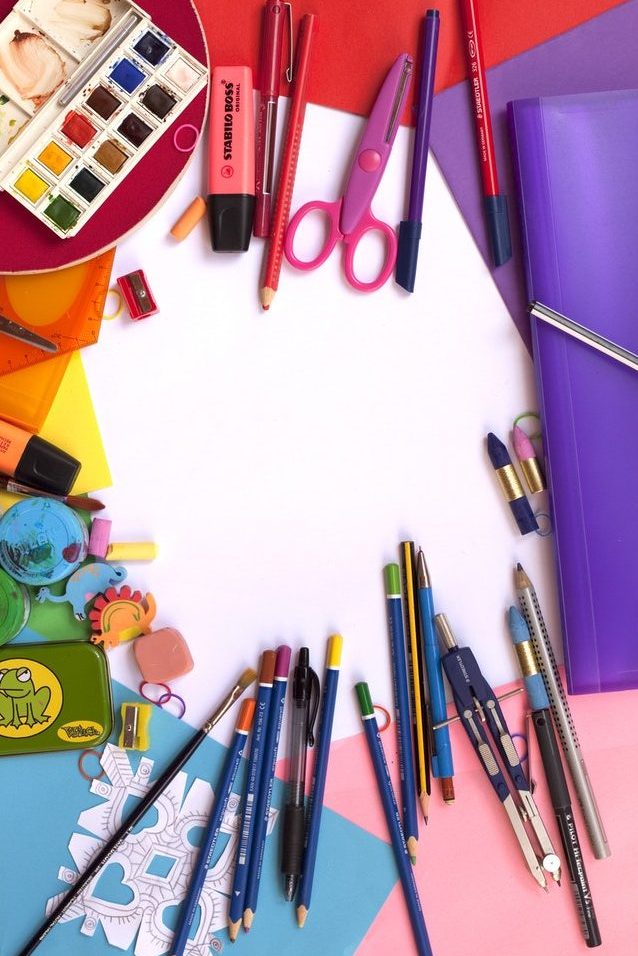
- mixed media drawing paper
- pencil
- sharpie marker
- colored markers
- yarn or pre-made pom-poms
- glue stick
Remember to Draw Light
Before starting to draw, we talked about the importance of drawing very lightly. It is much easier to erase a line drawn very light than a pencil line drawn with all your might. Hey! The art teacher is a rhymer! Our classroom mantra: “Draw Light Until You Get It Right!”
Drawing Steps
- Place paper in the portrait position and draw a large upside down U shape
- Add a curved line (sad face line) to draw the hat
- Add curved lines for ears
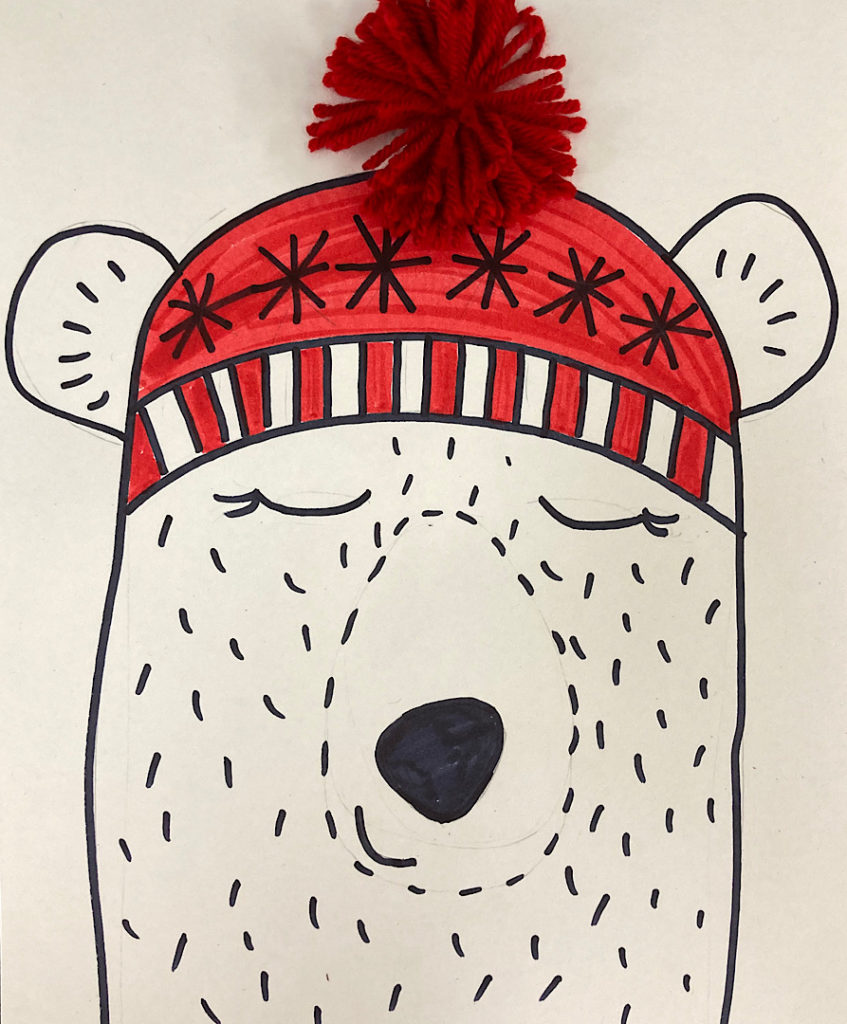
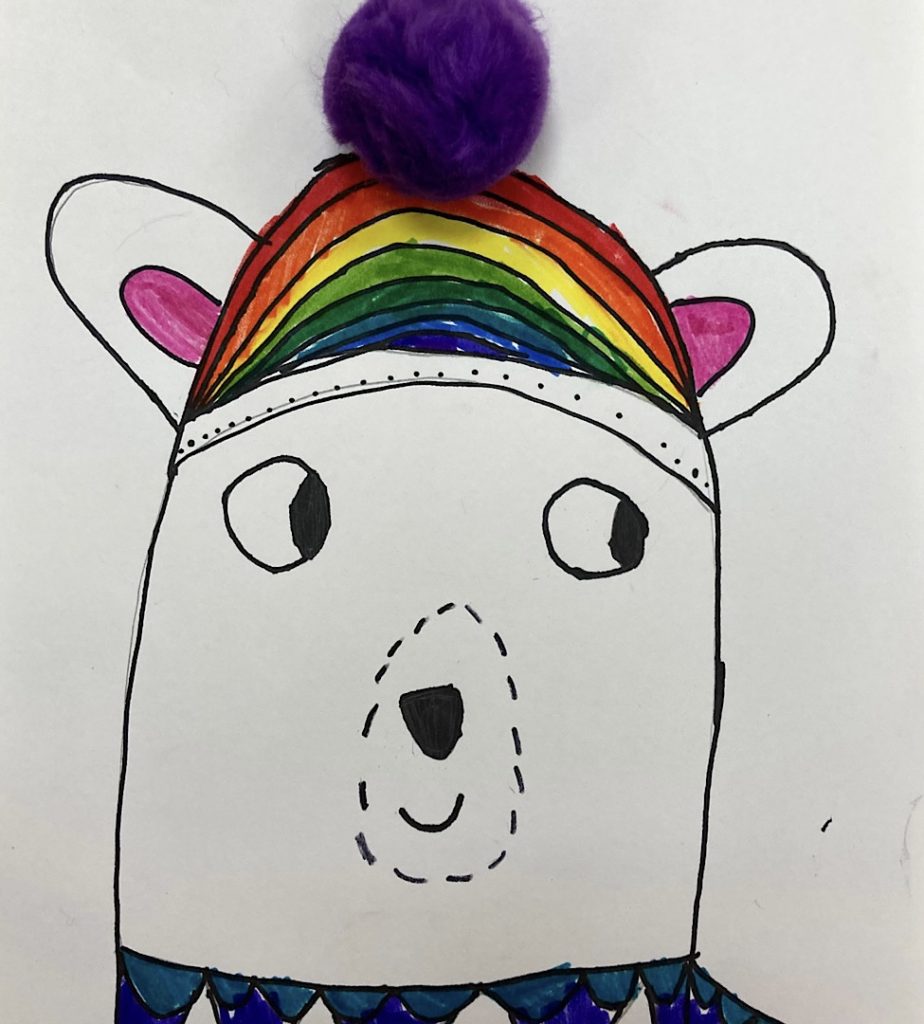
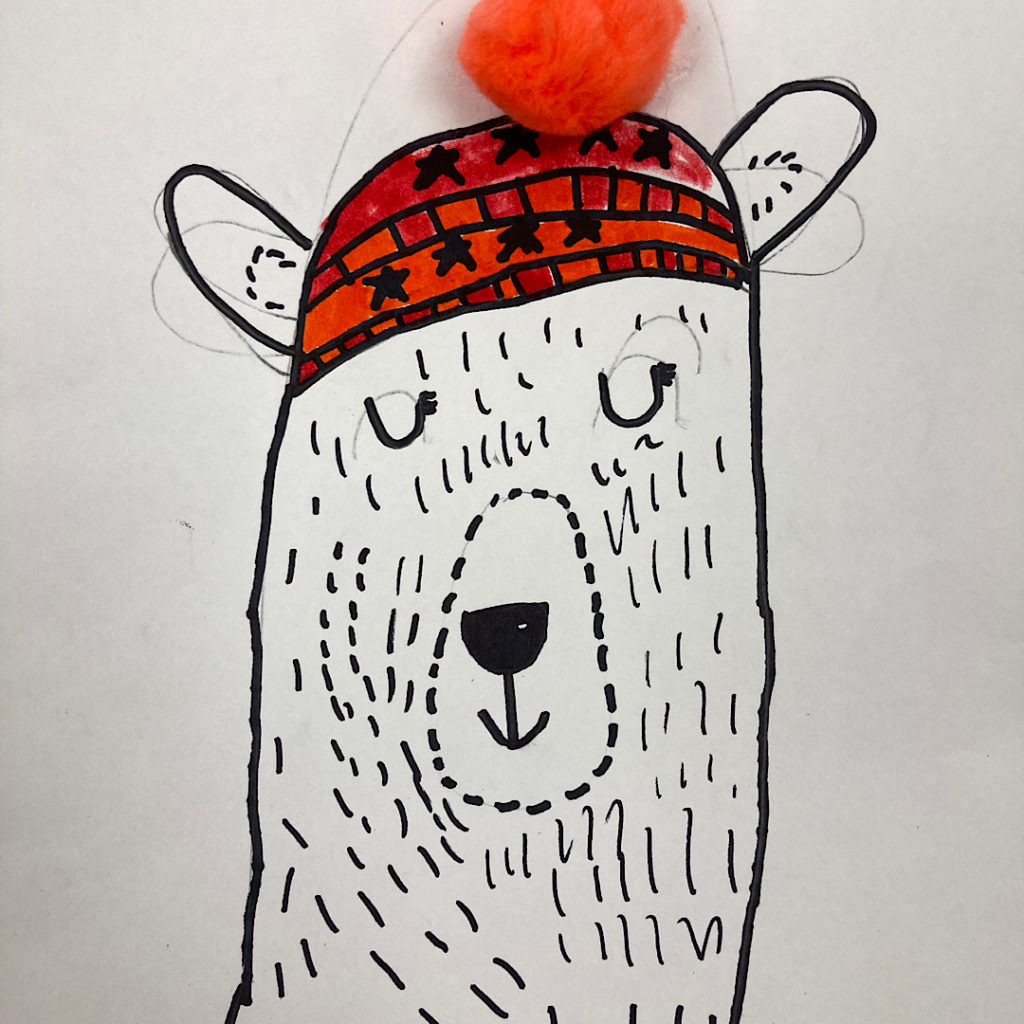
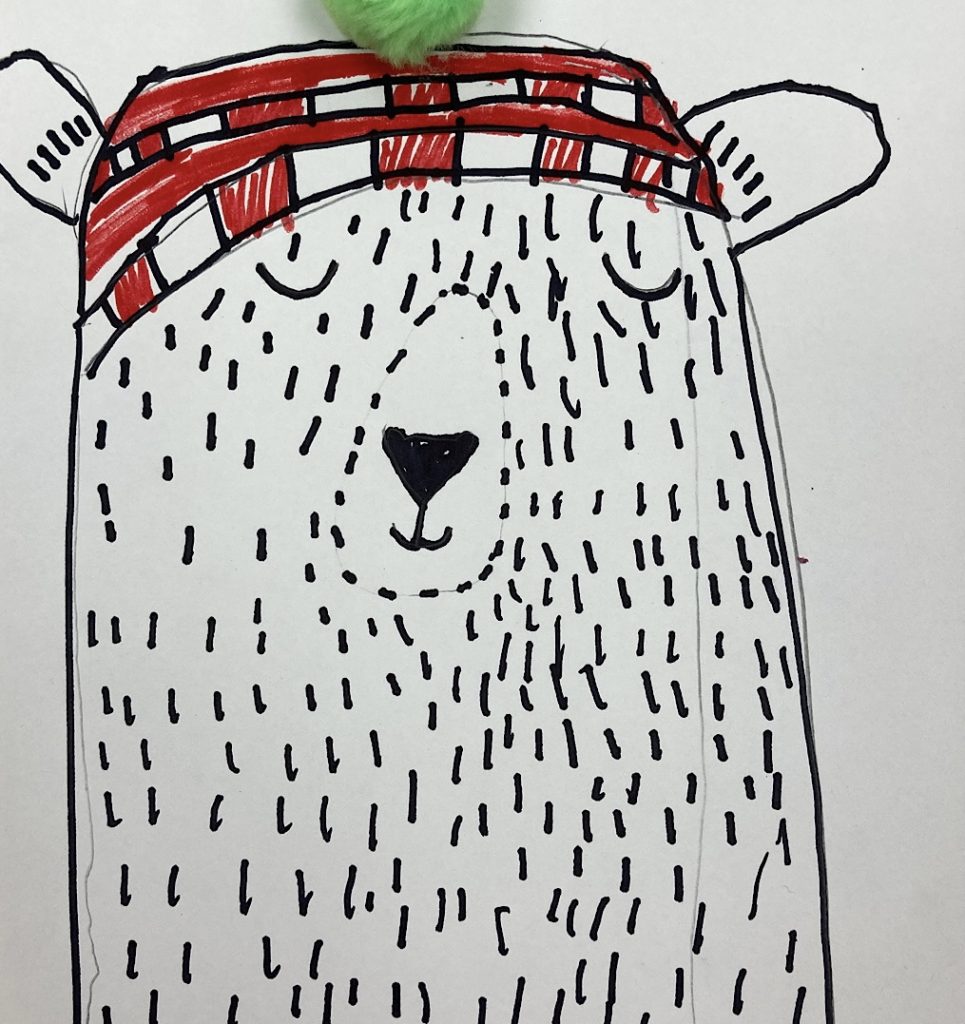
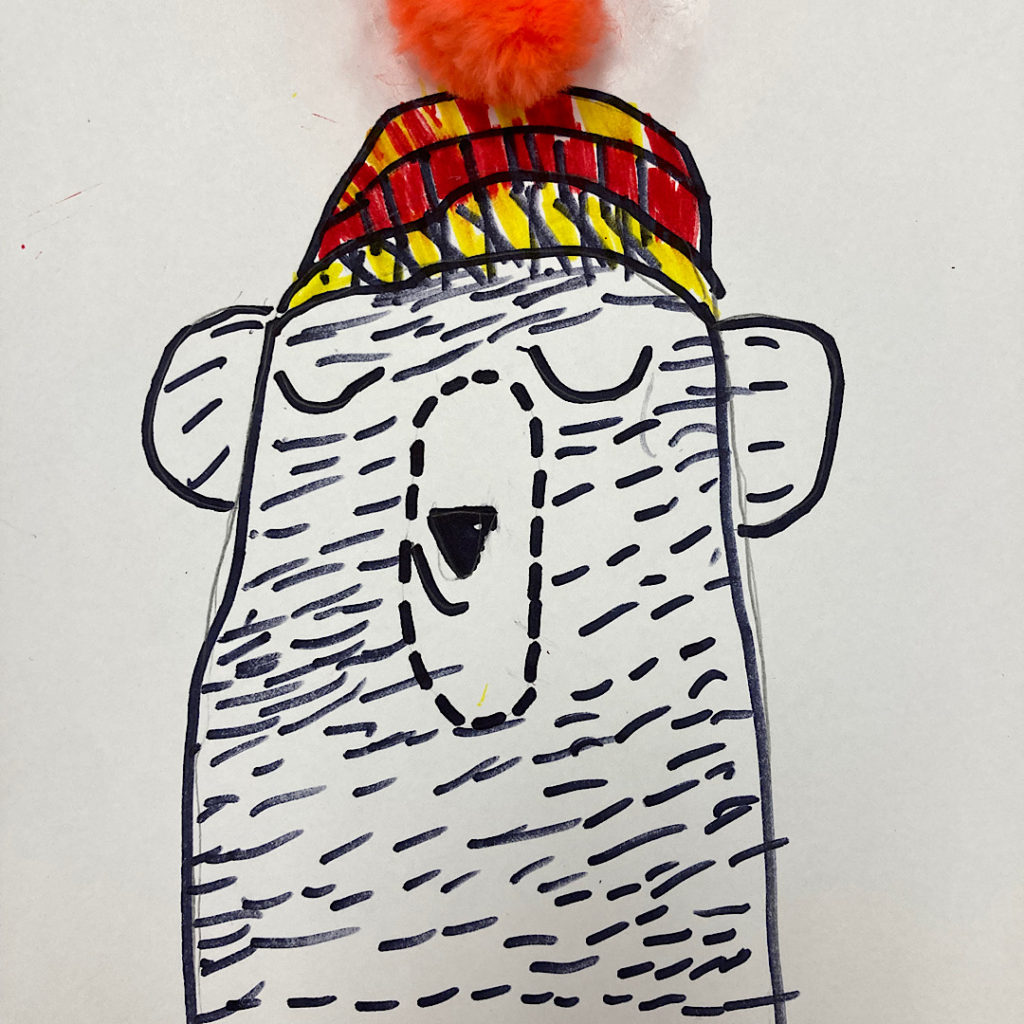
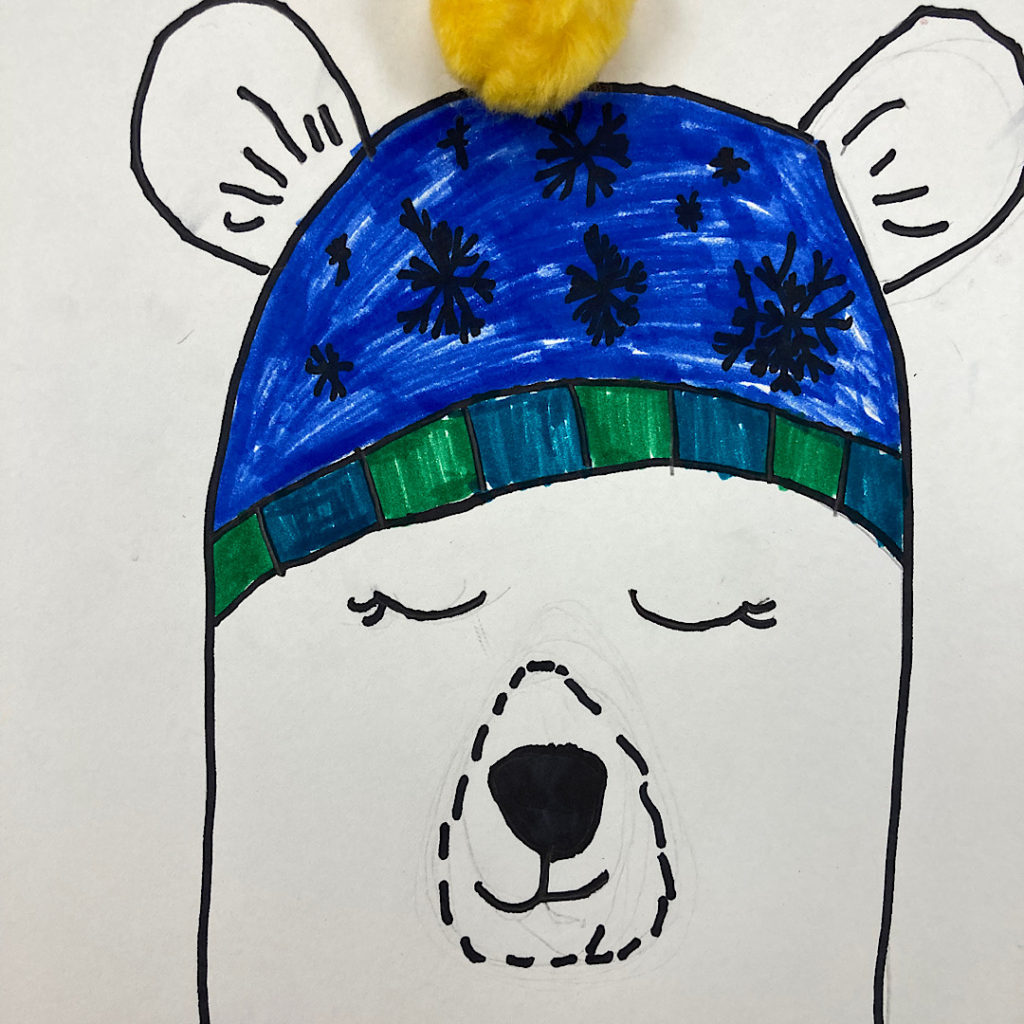
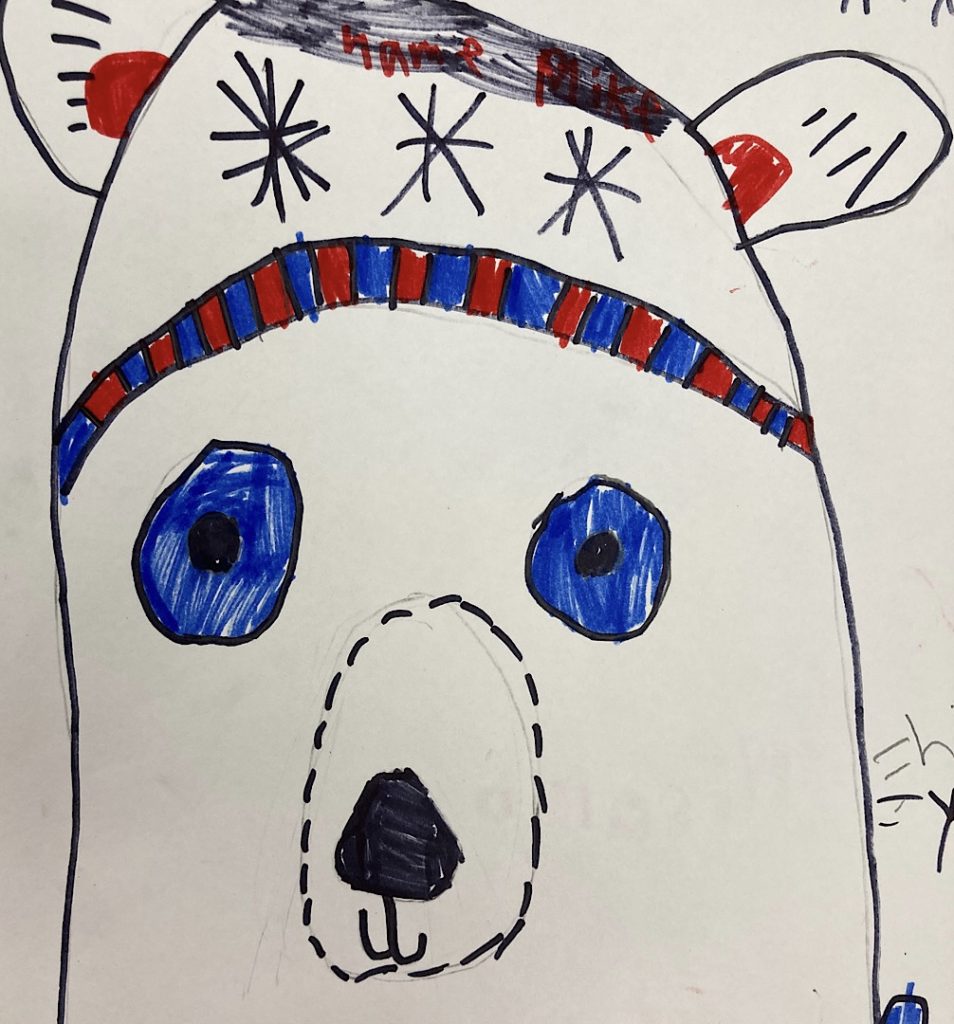
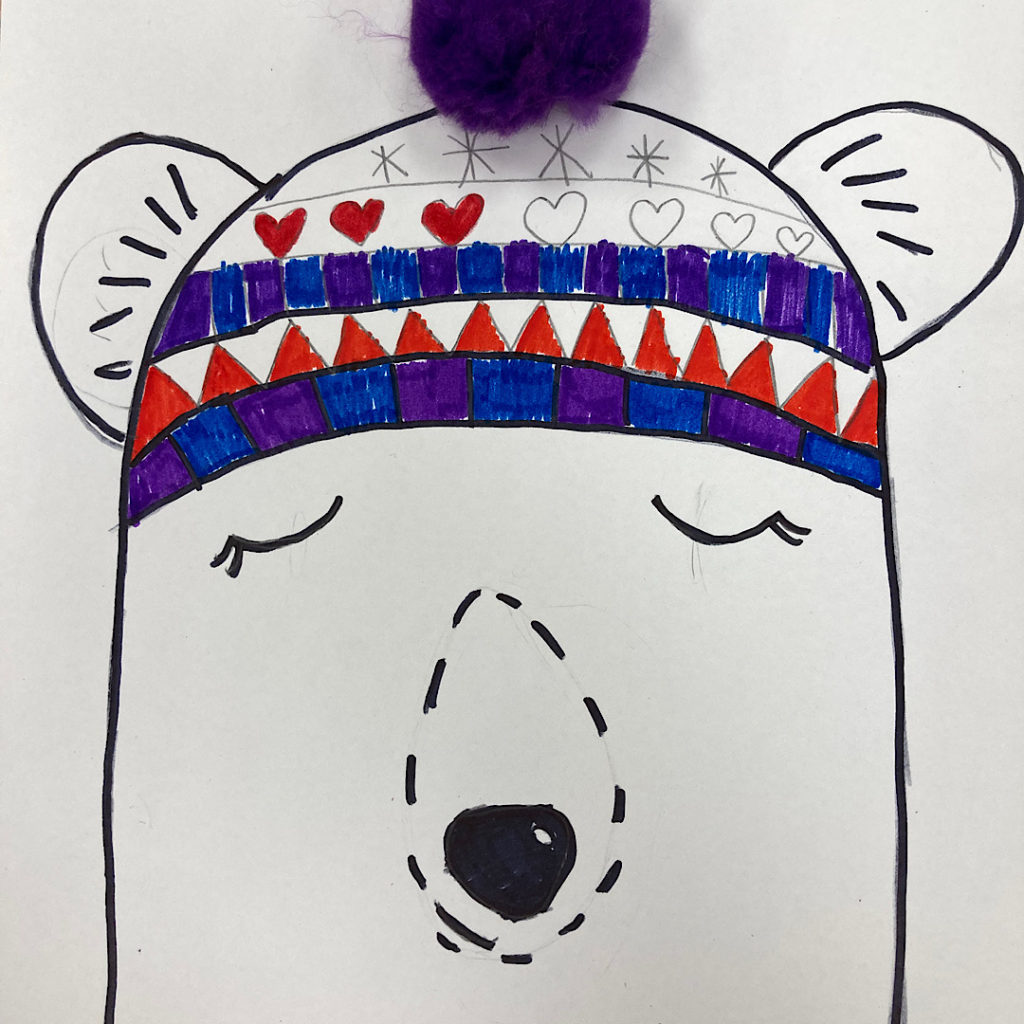
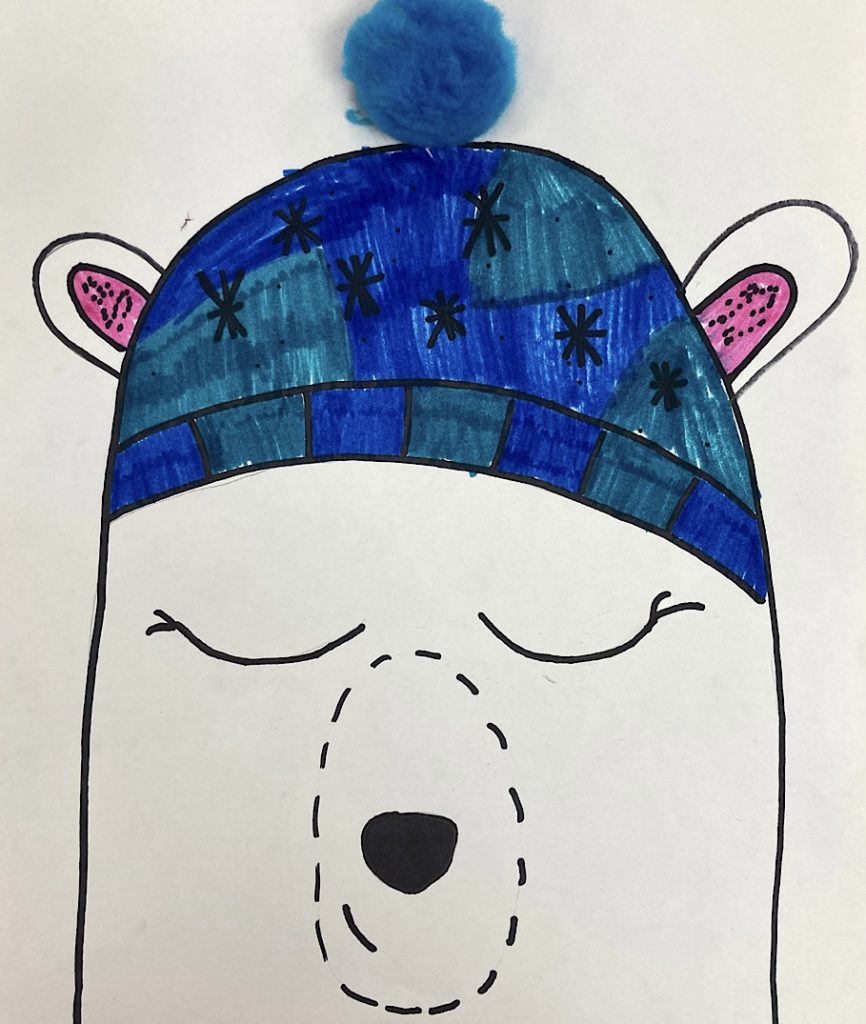
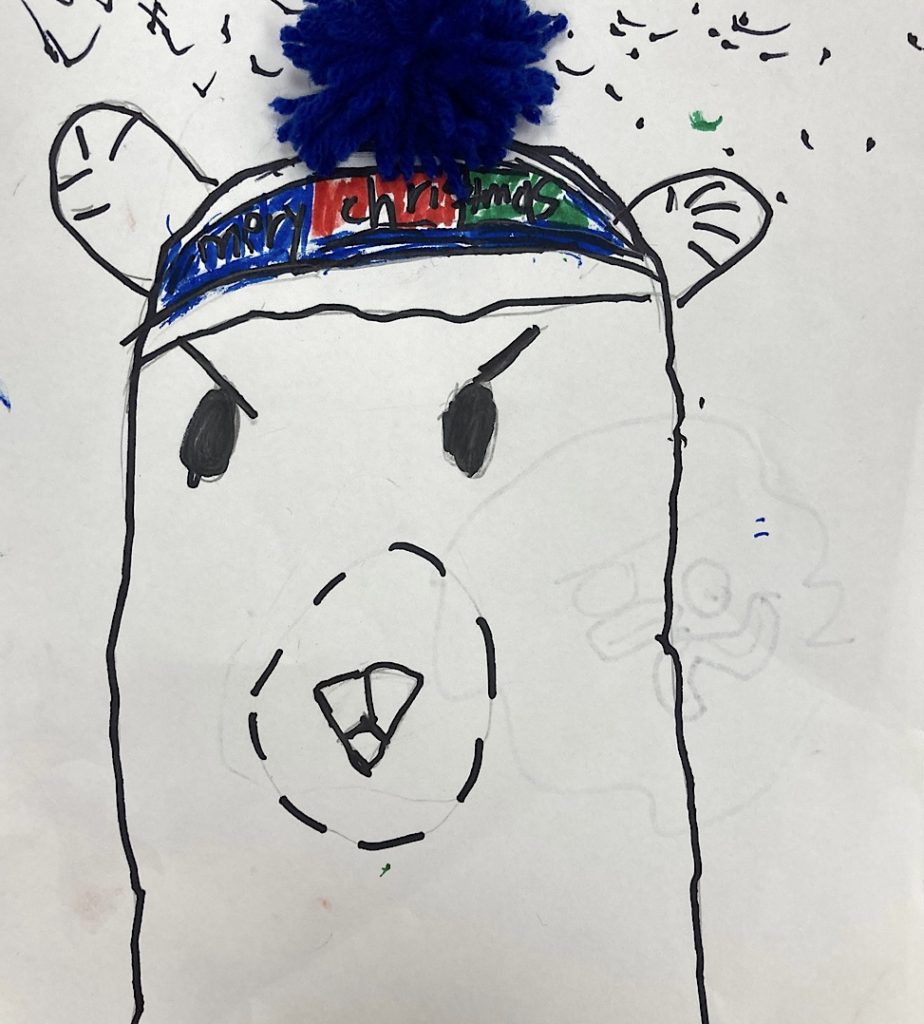
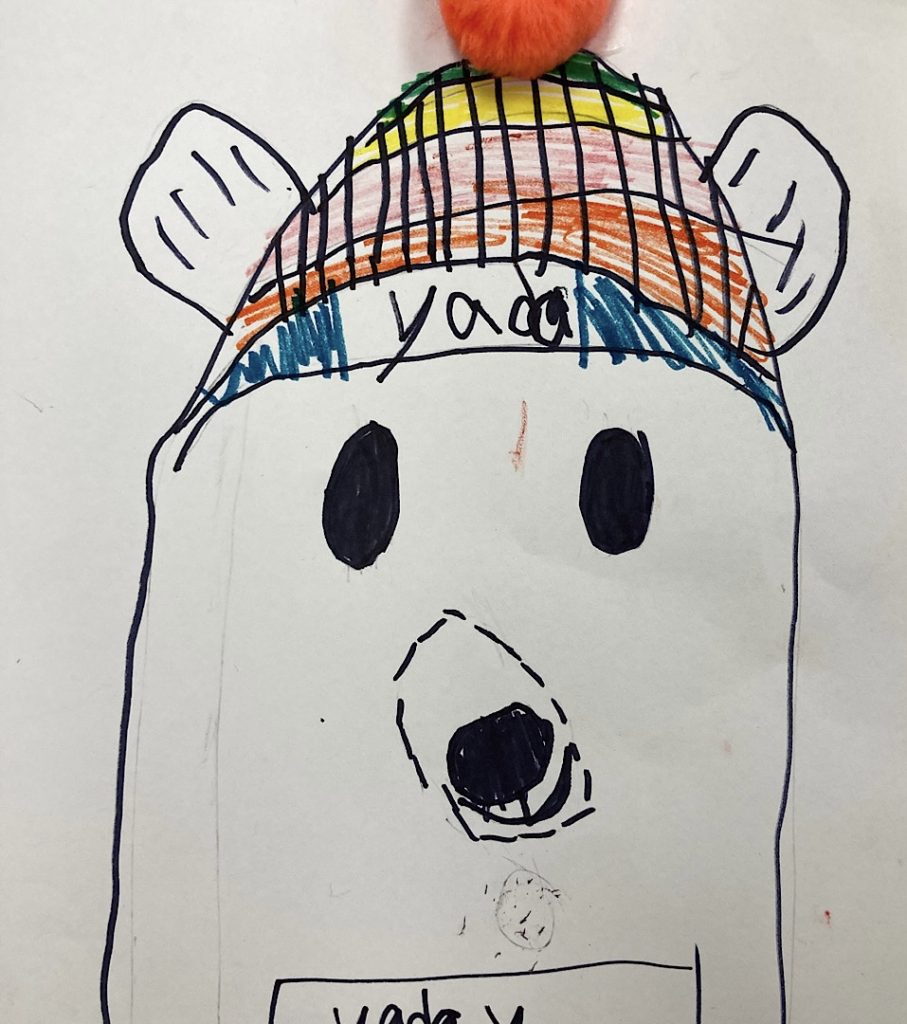
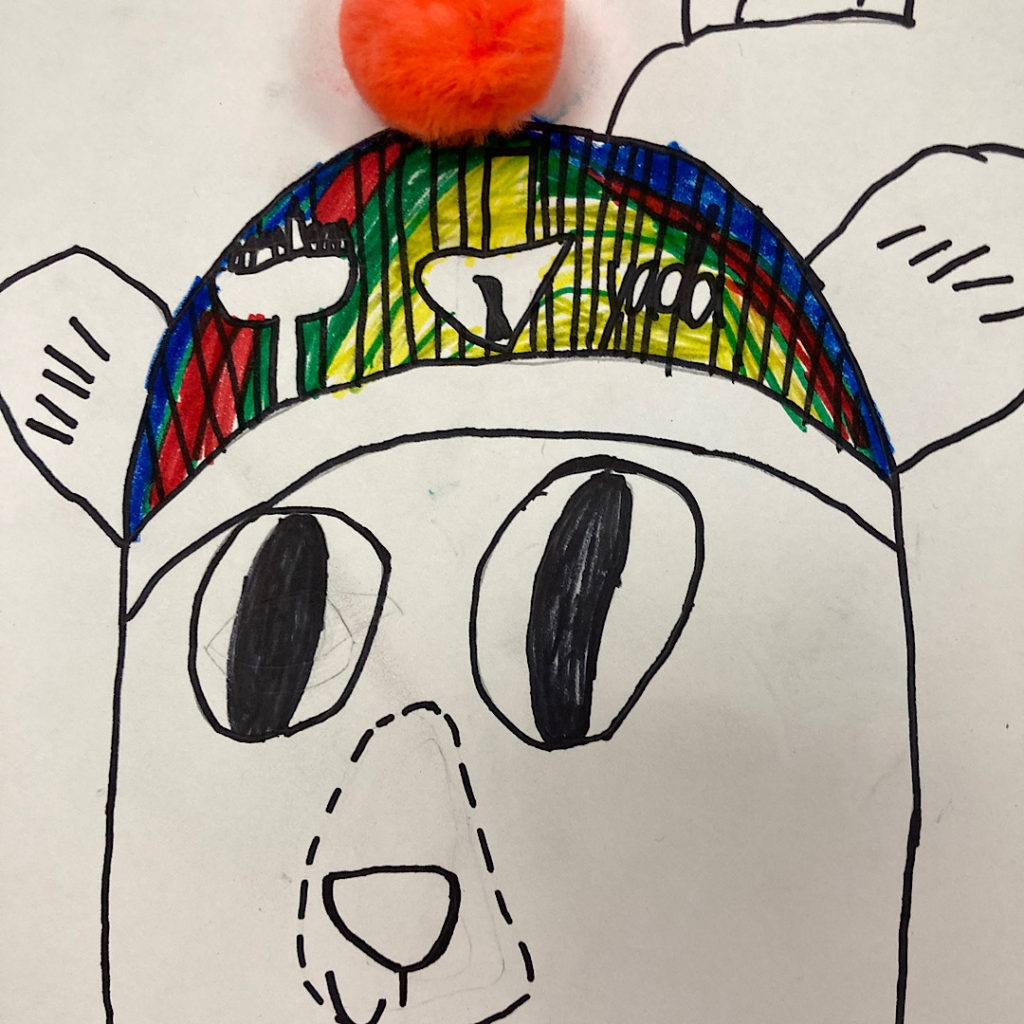
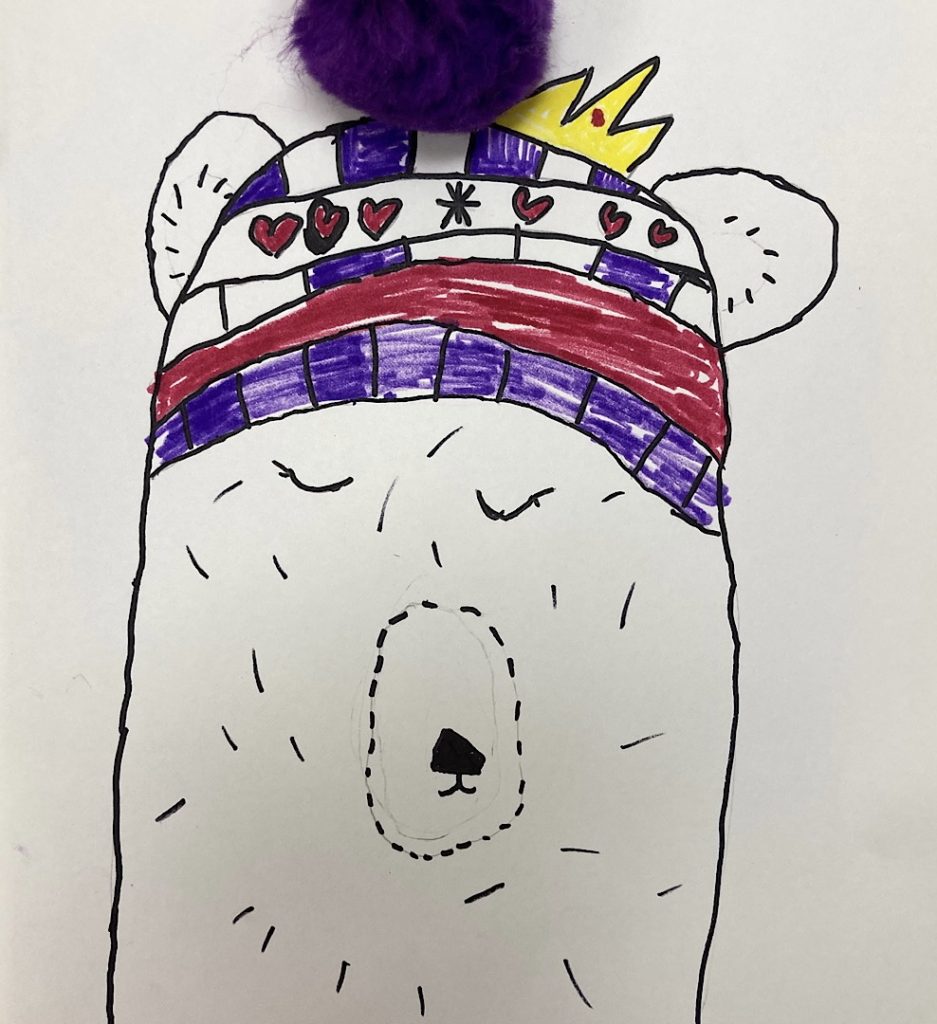
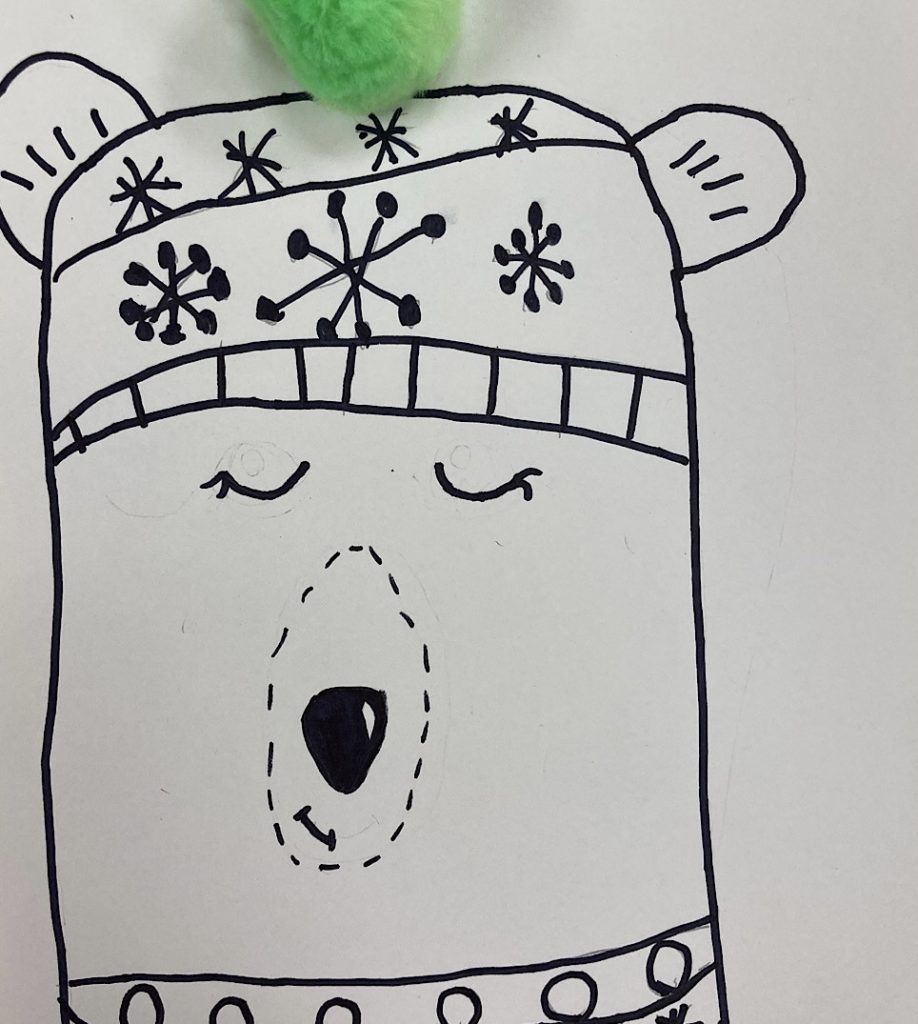
- Draw the eyes. We had a long discussion about the eyes. Is the bear awake or asleep? Most of my kids drew sleepy eyes, thinking their bear was snuggly and sleepy.
- Draw the muzzle. We used dashed lines to draw the “avocado” shaped muzzle.
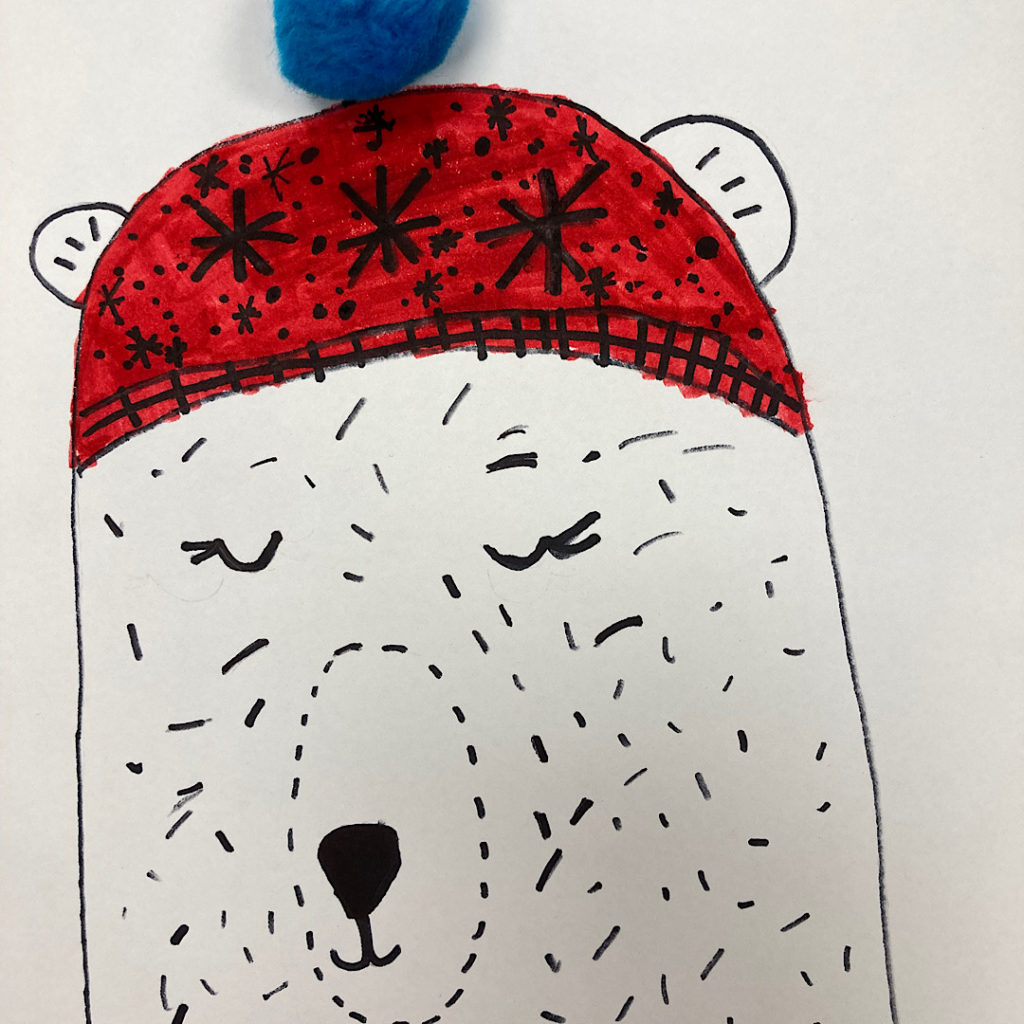
- The nose is a “rounded triangle” shape pointing down.
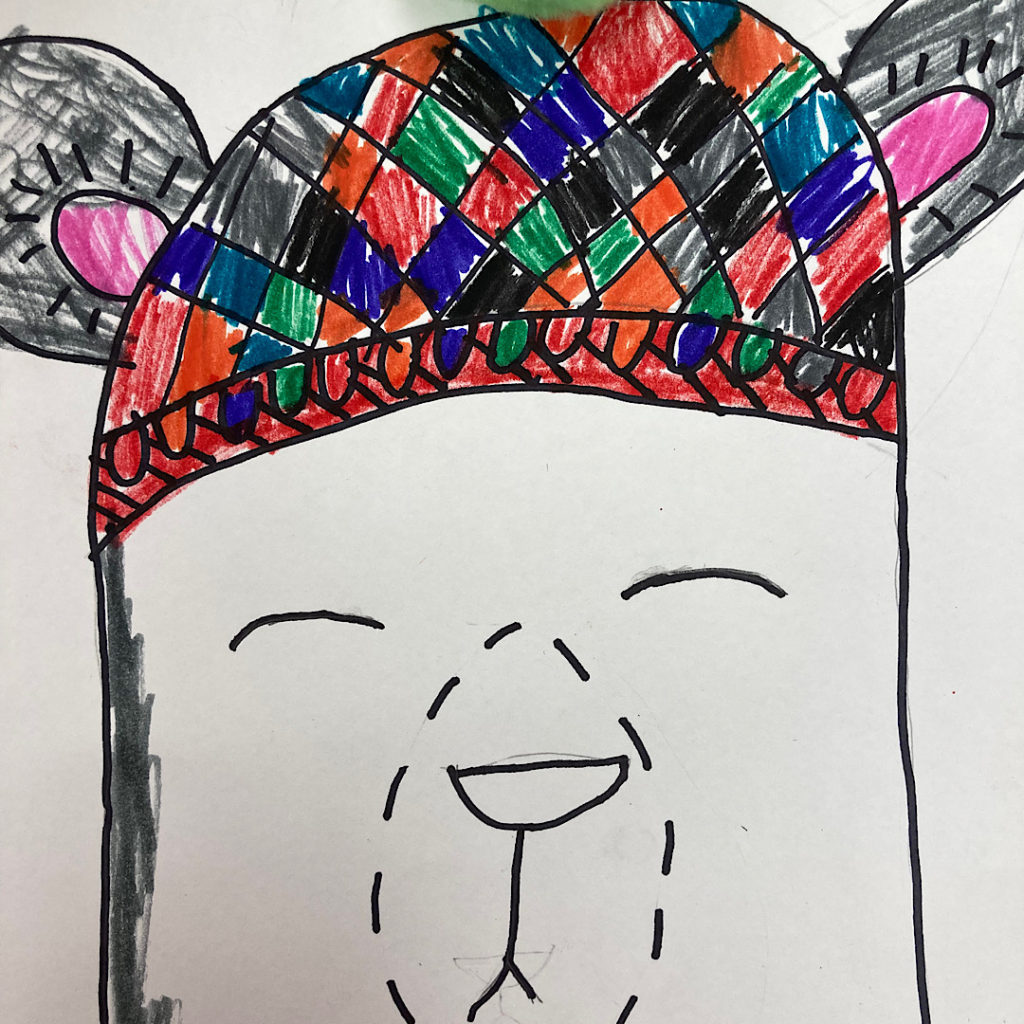
- We talked a lot about the mouth and the different ways it could be drawn. Some chose an anchor type mouth, others added a smile. My favorite is the side smirk!
- We added some curved lines on the hat for drawing in the patterns, lines and designs of the winter hat.
- That’s it! After students were happy with their sketches, I passed out sharpies and they went to town “sharpie-ing” everything and then finally added color patterns to the hats.
- The final step is to add the pom-pom to the top of the hat.
- Here is a pom-pom making tutorial.
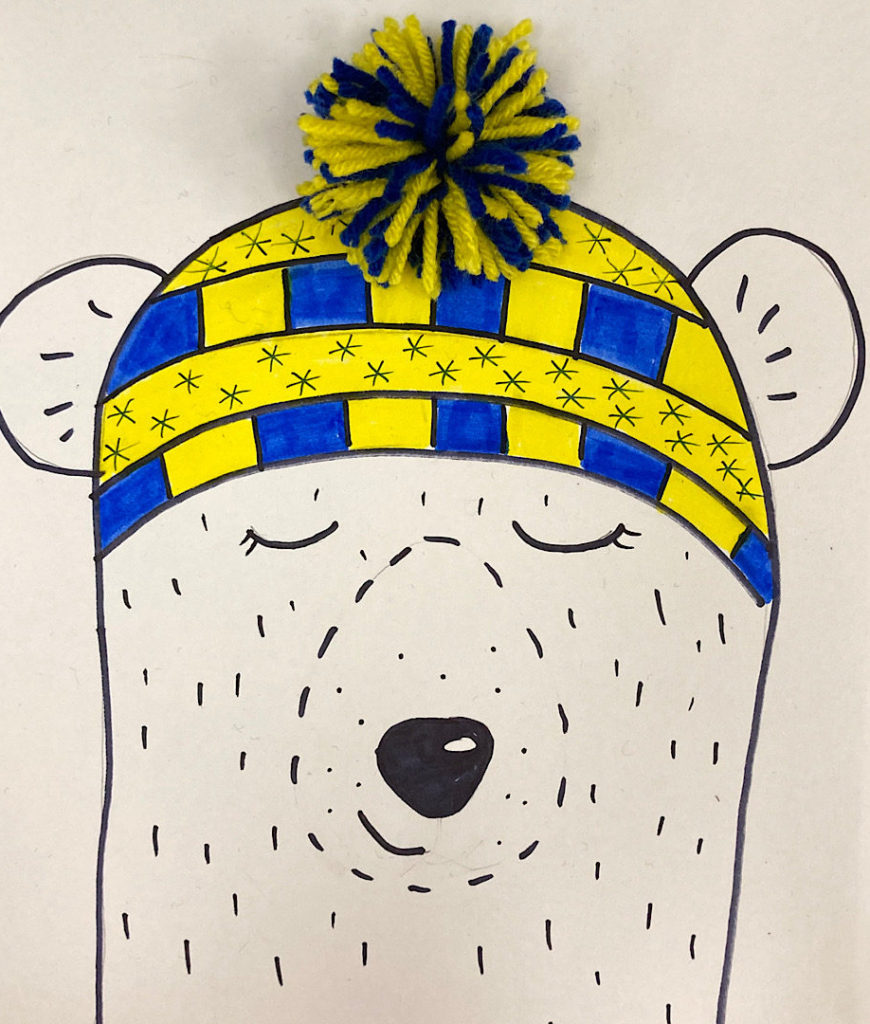
IF you are brave enough to make pom-poms out of yarn with a classroom of kids who are just learning to tie knots, it can be done in a separate lesson. You may call me crazy, but I discovered that about half my second grade kiddos knew how to tie a knot. So in my infinite wisdom, I paired up the non-tiers with the tiers and they helped each other make pom-poms! I loved having them work together in pairs, not only did they have a great time learning how to make pom-poms, the results were adorable! Incidentally, when I taught this lesson to my combo first and second grade class, we opted to use a bag of store bought pom-poms. The students loved choosing the perfect color and size to glue on their bear’s hat. Both options looked great!
Don’t you just love them?
What winter projects are your favorite? Let me know in the comments below.
Polar Bears in Beanies – Winter Art Fun Read More »